Looking for some healthy grains to add to your diet? Have you tried sorghum? It’s a tasty gluten-free, versatile and nutritious grain that can be used in a variety of dishes.
Whether you are looking for a new gluten-free alternative to wheat, a lectin-free option for your diet, or a sustainable and eco-friendly crop, sorghum has something to offer.
In this guide, we will explore the origins, types, benefits, and uses of sorghum, and teach you how to cook it to perfection.
What is Sorghum?
Also known as milo, jowar, or guinea corn, sorghum is an ancient cereal grain in the grass family and one of the oldest cultivated crops in the world.
Grown in ancient Africa and Asia, the earliest known record of sorghum comes from an archaeological evidence of Sorghum was found at Nabta Playa, near the Egyptian-Sudanese border dating to 8,000 B.C (1).
A drought-tolerant and heat-resistant crop, sorghum grows well in dry and harsh climates where other grains cannot. And it continues to be widely grown in Africa, Asia, and North America, especially in arid and semi-arid regions (2).
The United States is currently the world’s largest producer of sorghum. And it’s successfully grown in mostly in many states between South Dakota to Texas known as the “Sorghum Belt” (3).
Sorghum is used for food, and animal feed but it’s also being used and researched for the sustainable production fuels including ethanol and biofuels (4).
Types of Sorghum
There are a variety of different types of sorghum, each with its own characteristics and uses. And it comes in many colors including red, orange, bronze, black, tan, and white. The main types of sorghum are:
- Sweet sorghum: This type of sorghum has a high sugar content in its stalks, which can be extracted and processed into syrup, molasses, or ethanol. Sweet sorghum is also used for animal feed including fodder and silage.
- Grain sorghum: This type of sorghum produces edible seeds that can be consumed as whole grains, flour, or malt. Grain sorghum is also used for brewing, distilling, and animal feed.
- Broomcorn: This type of sorghum has long and stiff branches that can be harvested and used to make brooms, brushes, or mats. Broomcorn is also used for ornamental purposes.
Nutritional Profile
Sorghum is a nutrient-dense grain and a good source of carbohydrates, protein, fiber, iron, phosphorus, potassium, and antioxidants.
One cup of cooked sorghum (192 grams) contains:
| Nutrient |
Amount |
Daily Value (DV) |
| Calories |
216 |
– |
| Carbohydrates |
46 grams |
– |
| Protein |
7 grams |
– |
| Fat |
2 grams |
– |
| Fiber |
6 grams |
– |
| Iron |
16% of DV |
18 mg |
| Phosphorus |
22% of DV |
700 mg |
| Potassium |
9% of DV |
4700 mg |
| Magnesium |
21% of DV |
400 mg |
| Zinc |
9% of DV |
11 mg |
| Copper |
12% of DV |
0.9 mg |
| Manganese |
55% of DV |
2.3 mg |
| Selenium |
12% of DV |
55 mcg |
| Thiamine (B1) |
12% of DV |
1.2 mg |
| Niacin (B3) |
15% of DV |
16 mg |
| Riboflavin (B2) |
9% of DV |
1.3 mg |
| Vitamin B6 |
18% of DV |
2 mg |
| Folate (B9) |
6% of DV |
400 mcg |
Note: The Daily Value percentages are based on a 2000-calorie diet, and actual daily values may vary depending on individual dietary needs.
Sorghum also contains phytochemicals such as phenolic acids, flavonoids, tannins, and phytosterols, which have antioxidant, anti-inflammatory, and cholesterol-lowering properties.
Here are some health benefits of sorghum:
- It Can Improve Digestive Health: Sorghum is rich in fiber, which can help prevent constipation, lower cholesterol, and regulate blood sugar levels.
- It Can Support the Immune System: Sorghum is a good source of iron, zinc, selenium, and vitamin B6, which are essential for the production and function of immune cells.
- It Can Prevent Anemia: Sorghum is a good source of iron, which is needed for the formation of hemoglobin, the protein that carries oxygen in the blood. Iron deficiency can cause anemia, which is characterized by fatigue, weakness, and pale skin.
- It Can Protect Cells Against Oxidative Stress: Sorghum is a good source of antioxidants, which can help scavenge free radicals, reduce inflammation, and prevent cellular damage.
- It Supports Bone Health: Sorghum is a good source of phosphorus, magnesium, manganese, and copper, which are important for bone formation, maintenance, and strength.
Some potential drawbacks of sorghum include:
- It Has Antinutrients: Like most grains, sorghum contains antinutrients such as phytates, tannins, and oxalates. These can reduce the body’s absorption of minerals like iron, zinc, calcium, and magnesium. Soaking, sprouting, and fermenting sorghum before cooking are all ways to reduce and neutralize these antinutrients, .
- Some People Are Allergic: Sorghum is a rare allergen. But some people may experience allergic reactions with symptoms like hives, itching, swelling, or breathing difficulties after consuming. If you have a history of food allergies, consult your doctor before trying sorghum.
- Interacting with Medications: Sorghum may interact with some medications, such as anticoagulants, antidiabetic drugs, or thyroid hormones, due to its effects on blood clotting, blood sugar, or thyroid function. If you are taking any medications, consult your doctor before trying sorghum.
Sorghum is Gluten-Free and Lectin-Free
Sorghum is a gluten-free grain, which means it does not contain the protein gluten that is found in wheat, barley, rye, and their derivatives.
Gluten can cause digestive problems, skin rashes, joint pain, or other symptoms in people with celiac disease, gluten intolerance, or gluten sensitivity. Sorghum is a safe and suitable alternative for people who need to avoid gluten in their diet.
Sorghum is also a lectin-free grain, which means it does not contain the plant proteins called lectins that are found in many legumes, grains, nuts, seeds, and nightshade vegetables.
Lectins can cause digestive issues, inflammation, or immune reactions in some people, especially those with autoimmune diseases, leaky gut, or lectin sensitivity.
Environmental Sustainability
Sorghum is an environmentally friendly crop that can contribute to sustainable farming. Some of the eco-friendly aspects of sorghum cultivation include:
- Water Efficiency: Sorghum can grow with minimal water requirements, as it can withstand drought and high temperatures. Sorghum can also use water more efficiently than other crops, as it can adjust its stomata (the pores on the leaves that regulate water loss and gas exchange) according to the moisture availability.
- Soil Conservation: Sorghum can improve soil quality, as it can prevent soil erosion, increase soil organic matter, and enhance soil fertility. Sorghum can also reduce soil salinity, as it can tolerate high levels of salt in the soil.
- Pest Resistance: Sorghum can resist pests and diseases, as it can produce chemical compounds that deter insects, fungi, bacteria, and viruses. Sorghum can also attract beneficial insects, such as bees and ladybugs, that can pollinate the crop and control the pest population.
- Crop Rotation: Sorghum can be used in crop rotation, as it can diversify the cropping system and break the pest and disease cycles. Sorghum can also fix nitrogen in the soil, which can benefit the subsequent crops.
Where is Sorghum Popular
Sorghum is a popular grain in various cuisines around the world, especially in Africa, Asia, and the Middle East.
Sorghum is used to make bread, porridge, couscous, pancakes, cakes, cookies, beer, liquor, and vinegar.
Sorghum is also used as a staple food, a snack, a sweetener, or a condiment.
Sorghum is also gaining popularity in modern cooking, as more people are becoming aware of its nutritional, gluten-free, and lectin-free benefits.
Sorghum is also versatile and adaptable, as it can be cooked in different ways and used to make salads, soups, stews, curries, pilafs, risottos, burgers, tacos, pizzas, and more.
Where to Buy Sorghum
Sorghum is becoming more widely available in grocery stores, health food stores, and online retailers. You can find sorghum in different forms, such as whole grains, flour, syrup, or malt. You can also find sorghum in different colors, such as white, red, or black.
Some of the reputable sources for purchasing sorghum are:
- Bob’s Red Mill: This company offers organic whole grain sorghum, sorghum flour, and sweet white sorghum syrup. You can order online or find their products in many stores across the US and Canada.
- Wondergrain: This company specializes in pearled sorghum, which they claim to be the softest and fastest cooking sorghum on the market. You can order online or find their products in select stores in the US.
- Shiloh Farms: This company offers organic whole grain sorghum and sorghum flour. You can order online or find their products in select stores in the US.
- Nu Life Market: This company offers gluten-free sorghum products, such as whole grain sorghum, sorghum flour, sorghum bran, and sorghum flakes. You can order online or find their products in select stores in the US.
Whole Sorghum vs. Pearled / Hulled Sorghum
Sorghum can be consumed as whole sorghum or pearled sorghum, depending on the degree of processing. The main differences between whole sorghum and pearled sorghum are:
- Whole Sorghum: Whole sorghum is sorghum that has not been processed or refined, which means it retains its outer layer or bran. Whole sorghum has a nutty flavor and a chewy texture. Whole sorghum is also more nutritious, as it contains more fiber, antioxidants, and minerals than pearled sorghum. However, whole sorghum also contains more antinutrients, which can reduce the bioavailability of some nutrients. Whole sorghum also takes longer to cook than pearled sorghum, as it requires more water and heat to soften the bran.
- Pearled Sorghum: Pearled sorghum is sorghum that has been processed or refined, which means it has been polished or pearled to remove the outer layer or bran. Pearled sorghum has a mild flavor and a fluffy texture. Pearled sorghum is also easier to digest, as it contains less antinutrients than whole sorghum. However, pearled sorghum also loses some of its nutritional value, as it contains less fiber, antioxidants, and minerals than whole sorghum. Pearled sorghum also cooks faster than whole sorghum, as it requires less water and heat to soften the endosperm.
Both whole sorghum and pearled sorghum can be used in various dishes, depending on your preference and cooking time. You can also mix and match them to create different textures and flavors.
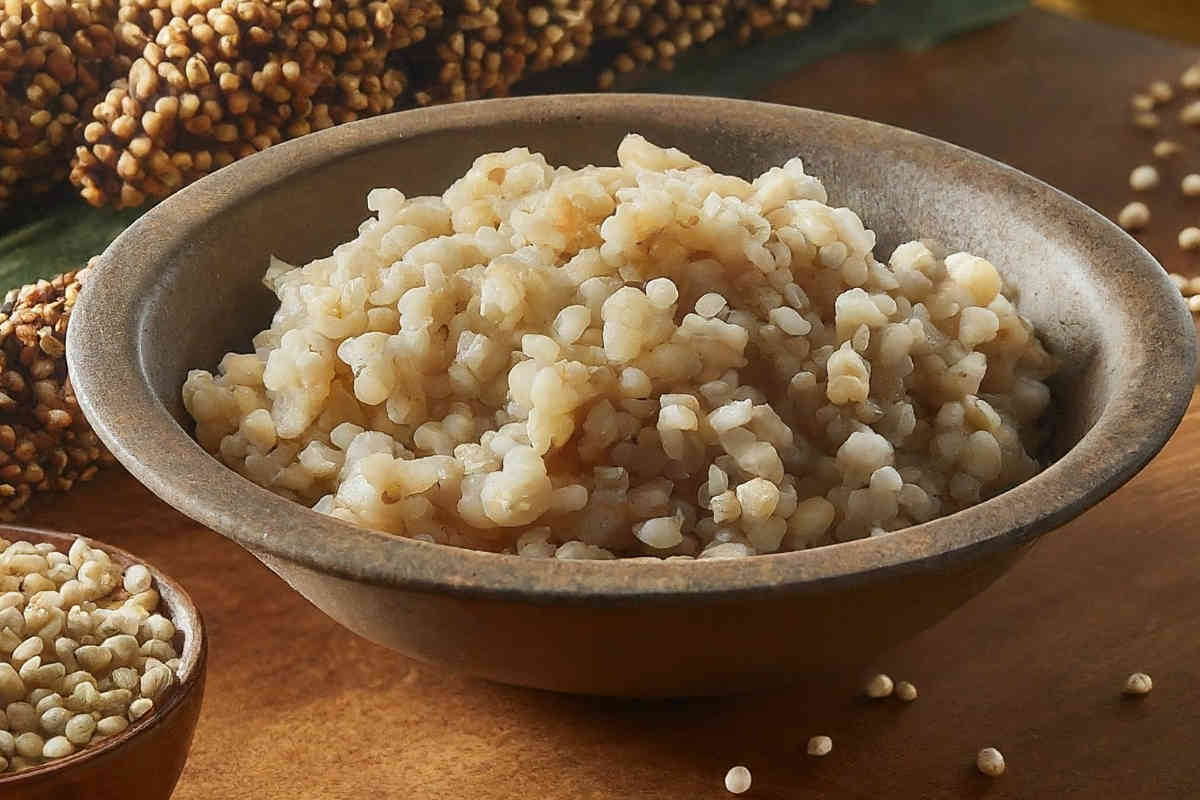
Taste and Texture of Cooked Sorghum
Cooked sorghum has a mild and slightly sweet flavor that can complement various dishes and cuisines. Cooked sorghum also has a unique and pleasant texture that can vary depending on the type of sorghum, the cooking method, and the cooking time.
Some of the taste and texture variations based on cooking methods are:
- Stovetop Cooking: This method can produce soft and fluffy sorghum, or chewy and nutty sorghum, depending on the cooking time and water ratio. Stovetop cooking can also enhance the natural flavor and aroma of sorghum, as it can allow the sorghum to absorb the seasonings and liquids.
- Pressure Cooking: This method can produce soft and fluffy sorghum, as the high pressure and steam can make the sorghum grains swell and burst. Pressure cooking can also retain the nutrients and moisture of sorghum, as it can prevent the loss of water-soluble vitamins and minerals.
- Instant Pot Cooking: This method can produce soft and fluffy sorghum, as it can combine the benefits of pressure cooking and rice cooking. Instant Pot cooking can also offer convenience and versatility, as it can allow you to adjust the settings and features according to your needs and preferences.
Some of the taste and texture variations based on cooking times are:
- Shorter Cooking Time: This can produce firmer and crunchier sorghum, which can be suitable for salads, soups, or snacks. Shorter cooking time can also preserve the shape and color of sorghum, as it can prevent the sorghum from becoming mushy or brown.
- Longer Cooking Time: This can produce softer and creamier sorghum, which can be suitable for risottos, porridge, or desserts. Longer cooking time can also enhance the flavor and aroma of sorghum, as it can allow the sorghum to release more starch and sweetness.
You can experiment with different cooking times and methods to find your preferred taste and texture of sorghum.
How to Cook Sorghum
Sorghum can be cooked in different ways, depending on the type of sorghum, the cooking method, and the desired result. Here are some of the most common ways to cook sorghum:
Stovetop Cooking
Stovetop cooking is the traditional and most common way to cook sorghum. It is similar to cooking rice or quinoa, except it takes longer and requires more water. Stovetop cooking can produce soft and fluffy sorghum, or chewy and nutty sorghum, depending on the cooking time and water ratio.
To cook sorghum on the stovetop, you will need:
- 1 cup of sorghum grains (preferably rinsed and soaked for 8 hours or overnight)
- 3 cups of water or broth
- Salt and seasonings to taste
Here are the Steps to Follow:
- Bring the water or broth to a boil in a large pot over high heat.
- Add the sorghum grains and salt and seasonings to taste.
- Reduce the heat to low and simmer, covered, for 45 to 60 minutes, or until the sorghum is tender and the liquid is absorbed. You can check the doneness by tasting a grain or squeezing it between your fingers. If you want a softer texture, you can add more water and cook for longer. If you want a firmer texture, you can reduce the water and cook for shorter.
- Fluff the sorghum with a fork and serve hot or cold.
Tips for achieving the perfect sorghum texture:
- Use a heavy-bottomed pot with a tight-fitting lid to prevent the sorghum from sticking or burning.
- Use a 1:3 ratio of sorghum to water for a soft and fluffy texture, or a 1:2 ratio for a chewy and nutty texture.
- Soak the sorghum grains before cooking to reduce the cooking time and improve the digestibility.
- Add a splash of vinegar or lemon juice to the cooking water to enhance the flavor and prevent the sorghum from becoming sticky.
Pressure Cooking Sorghum
Pressure cooking is a fast and convenient way to cook sorghum, as it can reduce the cooking time by half or more. Pressure cooking can also produce a soft and fluffy texture, as the high pressure and steam can penetrate the sorghum grains and make them swell.
To Cook Sorghum in a Pressure Cooker, You Will Need:
- 1 cup of sorghum grains (preferably rinsed and soaked for 8 hours or overnight)
- 2 cups of water or broth
- Salt and seasonings to taste
Here are the steps to follow:
- Add the sorghum grains, water or broth, salt and seasonings to the pressure cooker.
- Lock the lid and set the pressure to high.
- Cook for 20 to 25 minutes, or until the sorghum is tender and the liquid is absorbed. You can use the natural release or the quick release method to release the pressure, depending on your preference and time availability.
- Fluff the sorghum with a fork and serve hot or cold.
Tips for achieving the perfect texture:
- Use a 1:2 ratio of sorghum to water for a soft and fluffy texture, or a 1:1.5 ratio for a chewy and nutty texture.
- Soak the sorghum grains before cooking to reduce the cooking time and improve the digestibility.
- Add a splash of vinegar or lemon juice to the cooking water to enhance the flavor and prevent the sorghum from becoming sticky.
Instant Pot Cooking Sorghum
Instant Pot is a popular brand of electric pressure cookers that can also function as slow cookers, rice cookers, yogurt makers, and more. Instant Pot can be a convenient and versatile tool for cooking sorghum, as it can offer different settings and features to suit your needs and preferences.
To cook sorghum in an Instant Pot, you will need:
- 1 cup of sorghum grains (preferably rinsed and soaked for 8 hours or overnight)
- 2 cups of water or broth
- Salt and seasonings to taste
Here are the steps to follow:
- Add the sorghum grains, water or broth, salt and seasonings to the Instant Pot.
- Close the lid and turn the valve to the sealing position.
- Select the manual or pressure cook mode and set the time to 20 minutes on high pressure.
- When the cooking is done, let the pressure release naturally for 10 minutes, then turn the valve to the venting position to release the remaining pressure.
- Fluff the sorghum with a fork and serve hot or cold.
Tips for achieving the perfect texture:
- Use a 1:2 ratio of sorghum to water for a soft and fluffy texture, or a 1:1.5 ratio for a chewy and nutty texture.
- Soak the sorghum grains before cooking to reduce the cooking time and improve the digestibility.
- Add a splash of vinegar or lemon juice to the cooking water to enhance the flavor and prevent the sorghum from becoming sticky.
For a Snack Try Sorghum Popcorn
One of the most fun and easy ways to enjoy sorghum is to make sorghum popcorn.
Sorghum popcorn is similar to regular popcorn, except it is smaller and crunchier. Sorghum popcorn can be a healthy and delicious snack, as it is low in calories, high in fiber, and gluten-free.
To make sorghum popcorn, you will need:
- 1/4 cup of sorghum grains (preferably pearled)
- 1 tablespoon of oil (preferably coconut)
- Salt and seasonings to taste
Here are the steps to follow:
- Heat a large pot over medium-high heat and add the oil.
- Once the oil is hot, add the sorghum grains and cover the pot with a lid.
- Shake the pot occasionally to prevent the grains from burning.
- Listen for the popping sound and reduce the heat if necessary.
- When the popping slows down, turn off the heat and let the pot sit for a few minutes.
- Transfer the sorghum popcorn to a large bowl and season with salt and your favorite toppings, such as butter, cheese, cinnamon, or honey.
Enjoy your sorghum popcorn while it is still warm and crispy.
Creative Ways to Use Sorghum
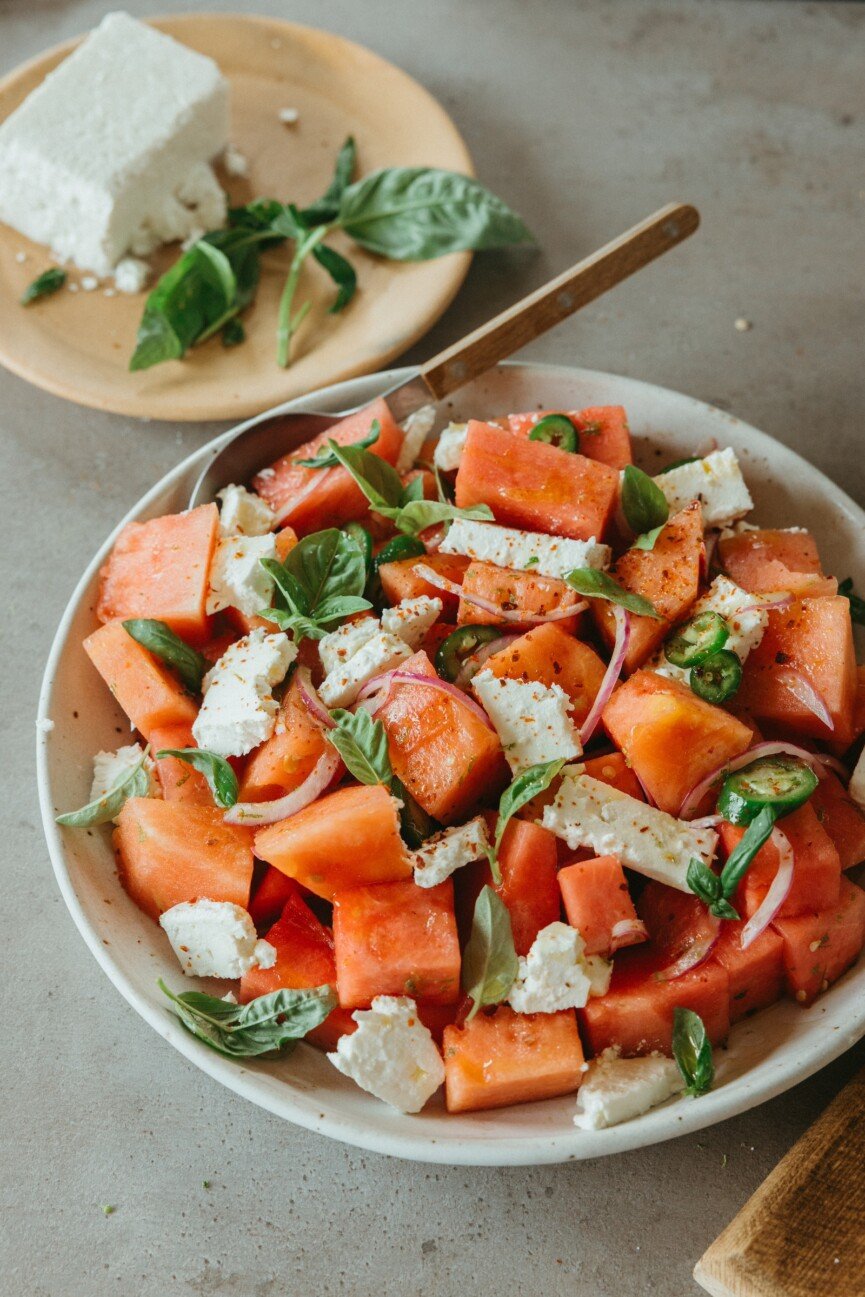
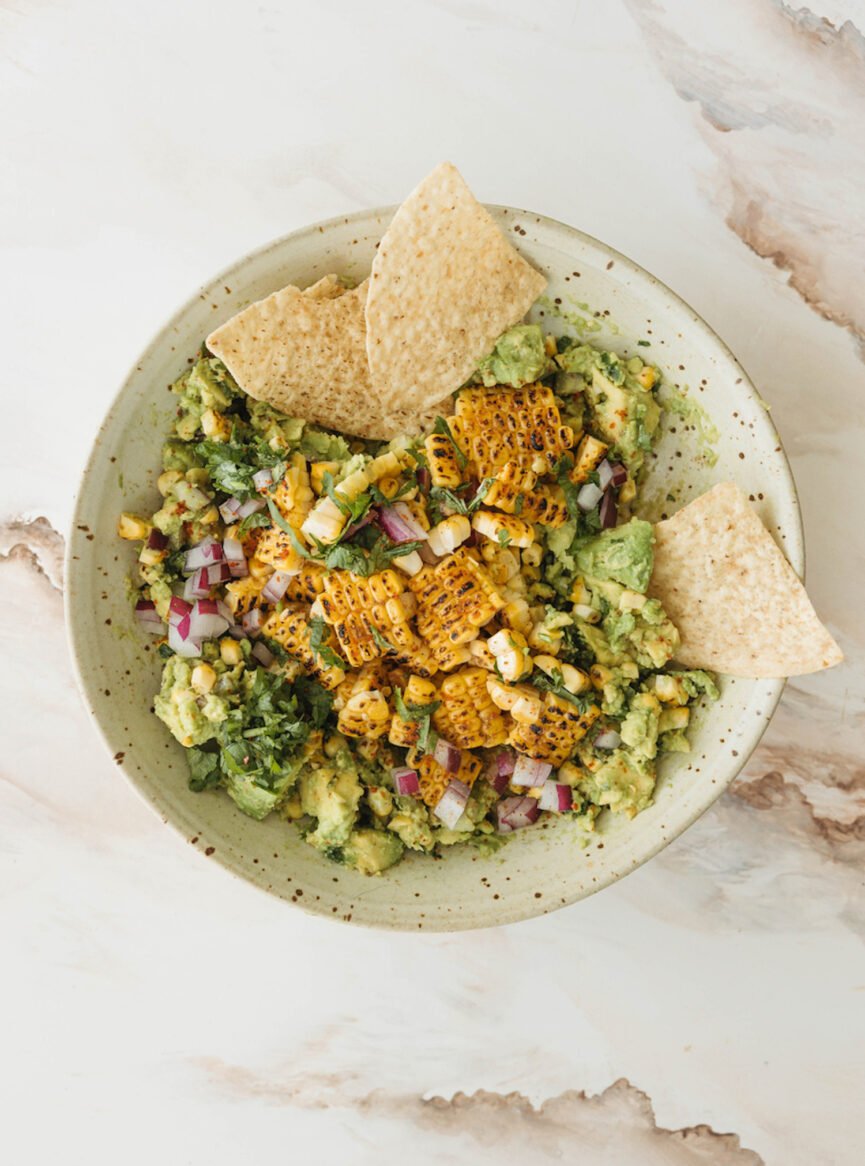
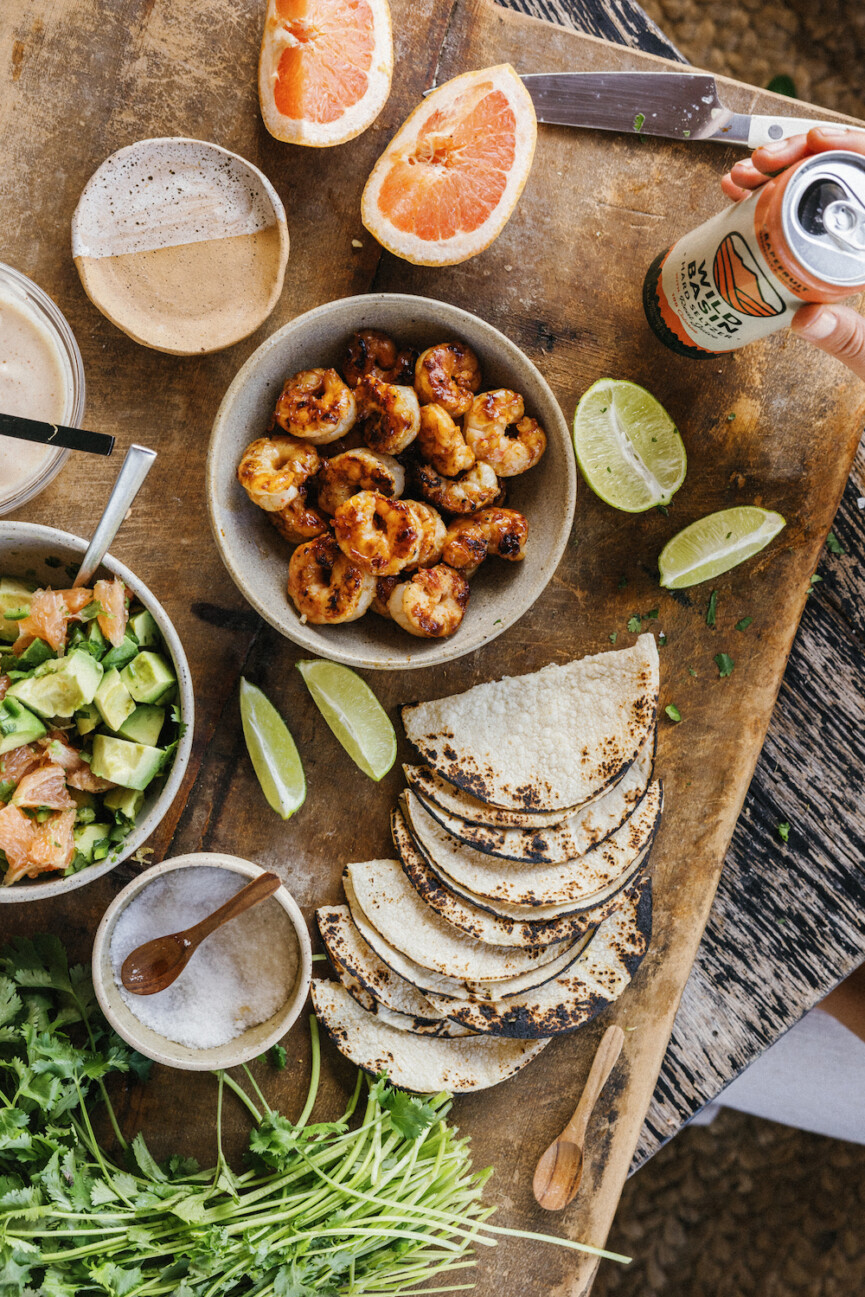
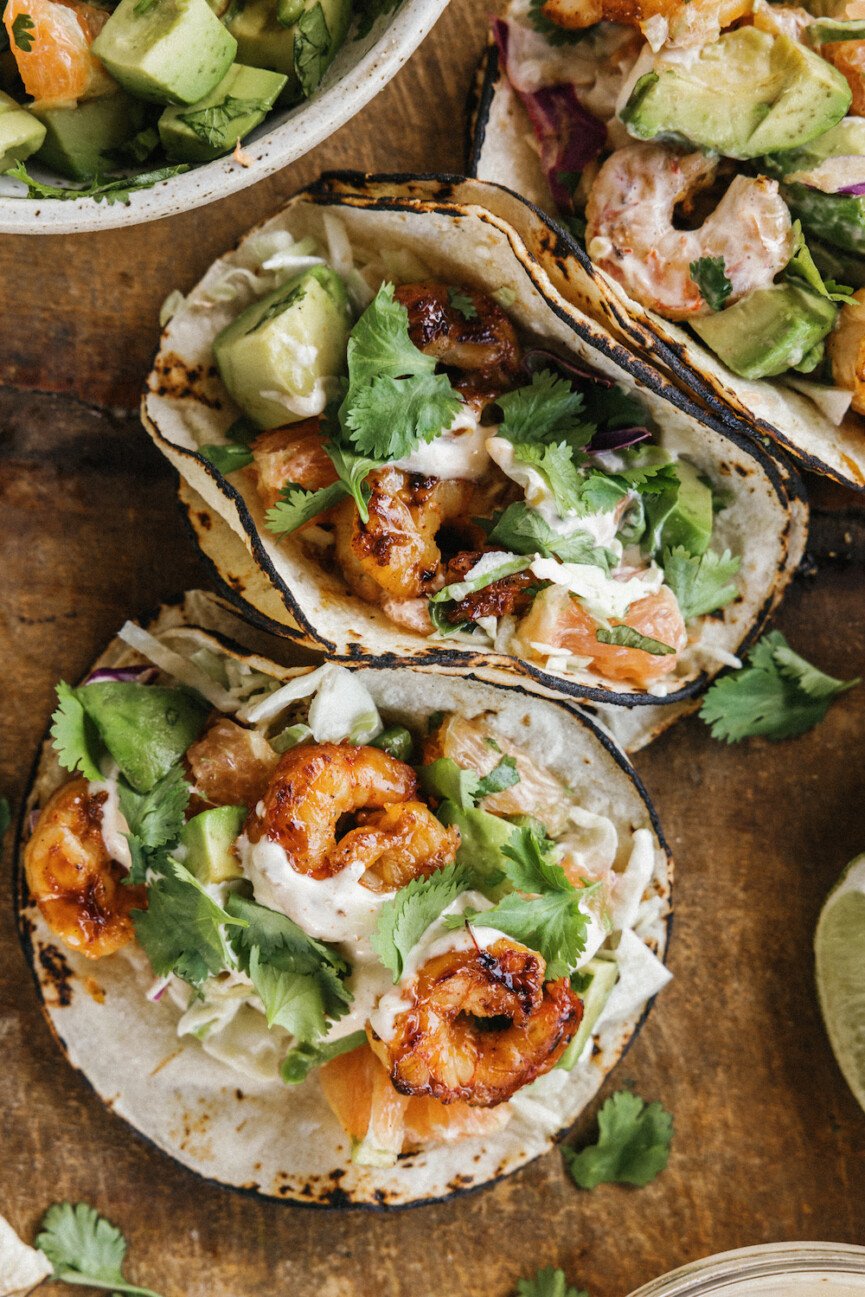
Explore sweet and savory applications: Sorghum can be used to create both sweet and savory dishes, as it can pair well with different flavors and ingredients. You can use sorghum to make desserts, such as sorghum pudding, sorghum cake, or sorghum cookies. You can also use sorghum to make savory dishes, such as sorghum burgers, sorghum tacos, or sorghum pizza.
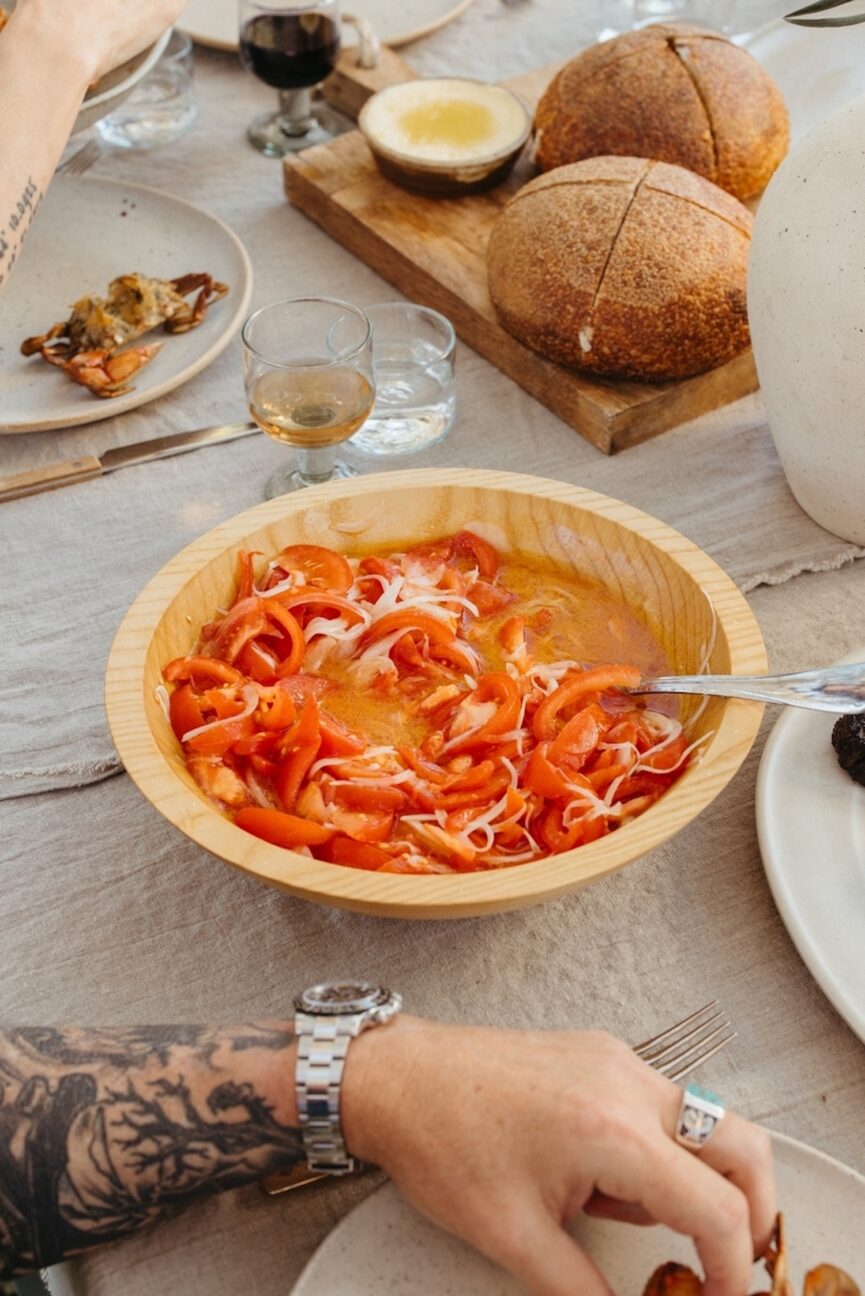
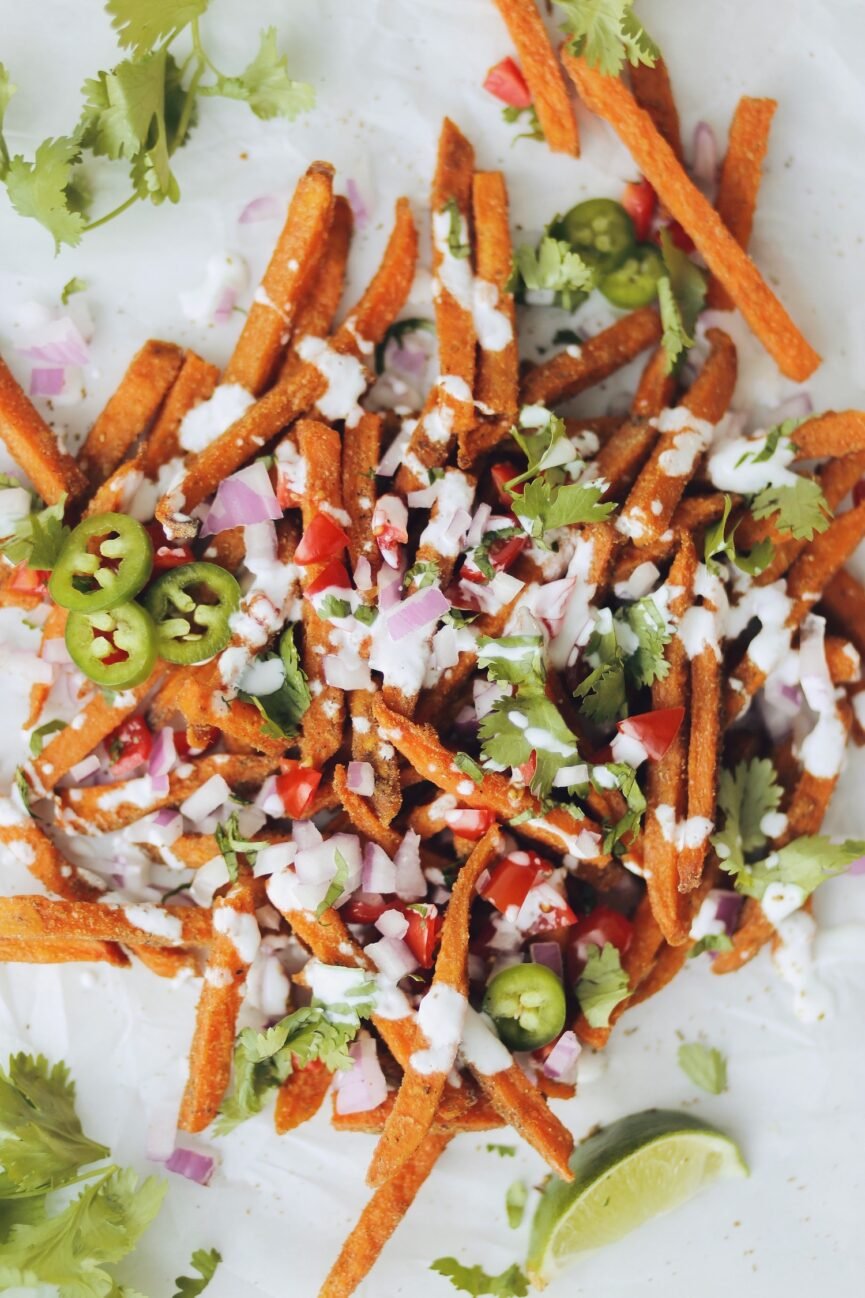
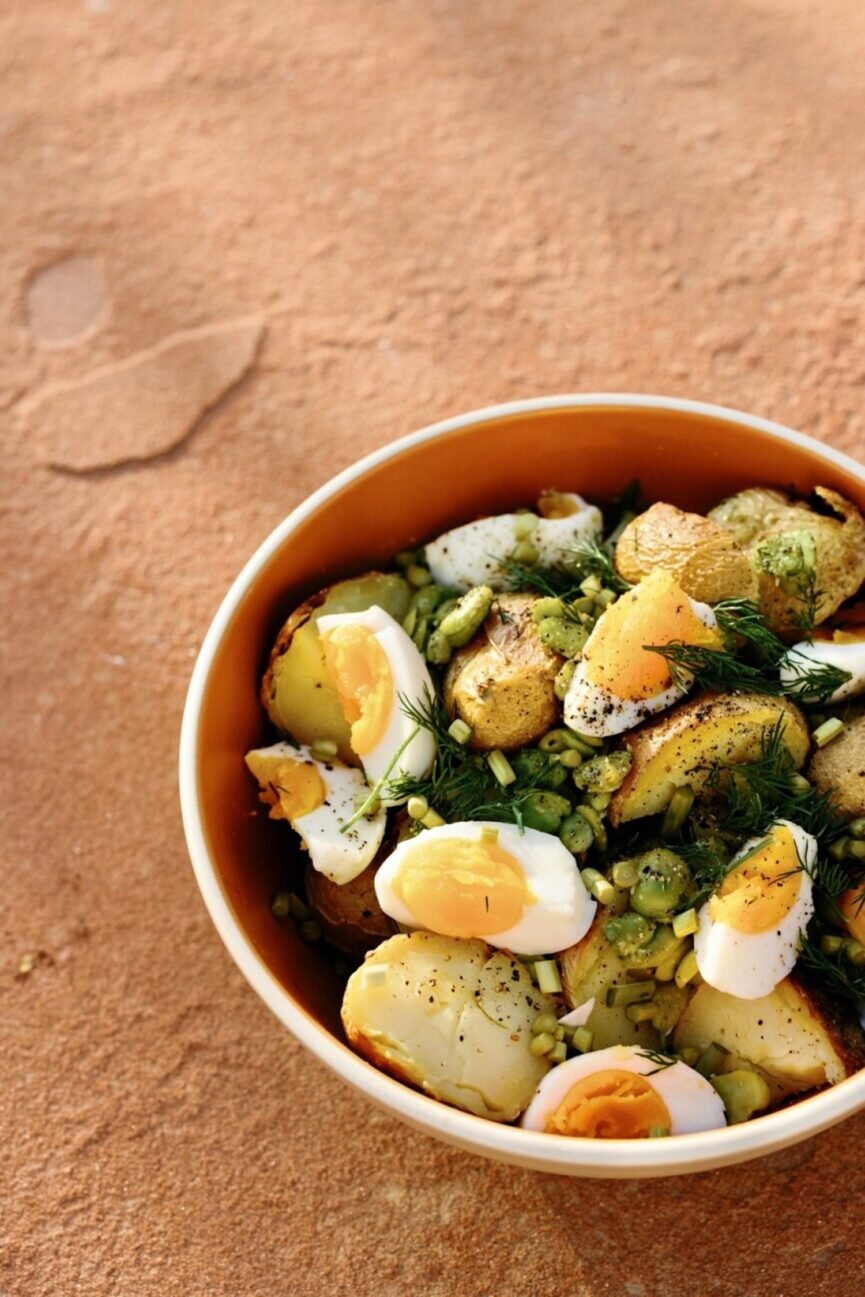
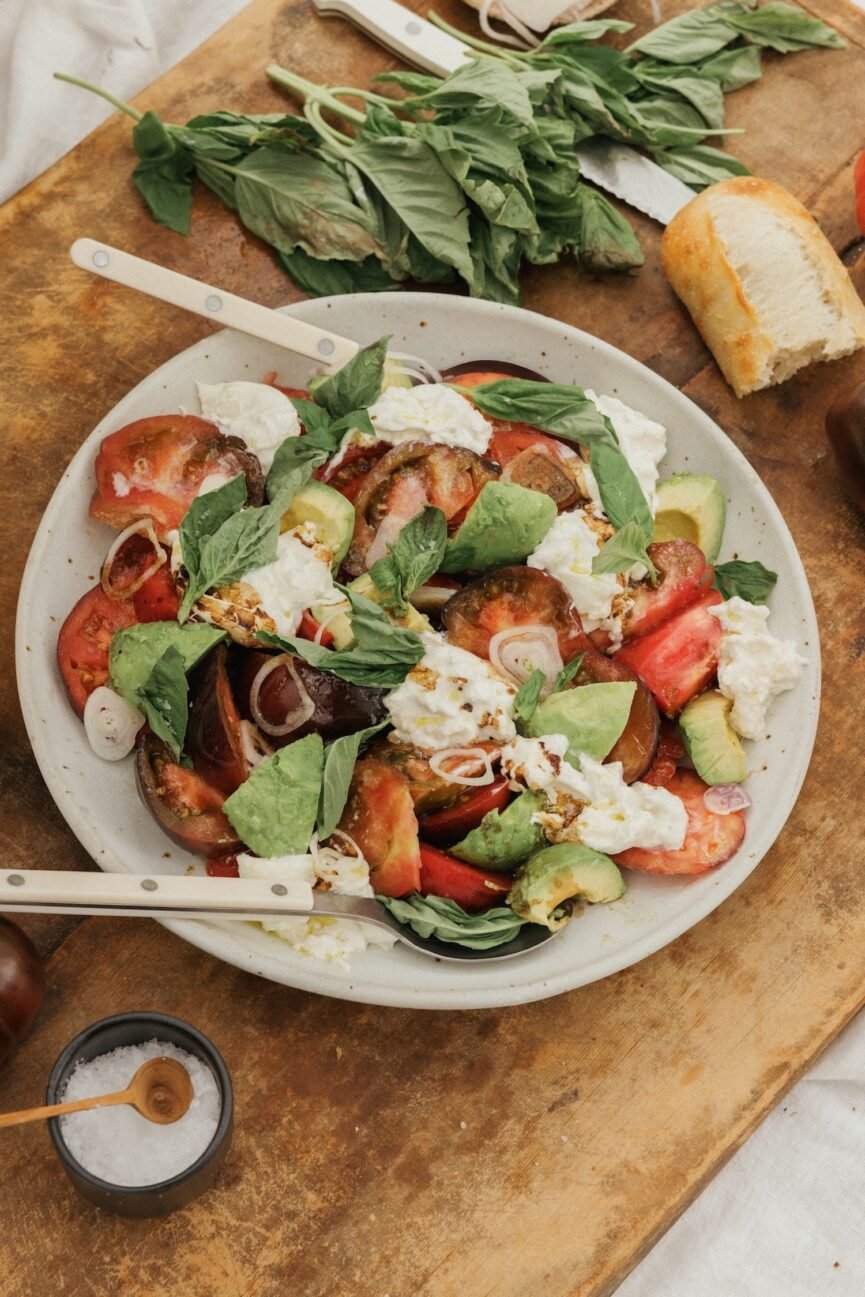
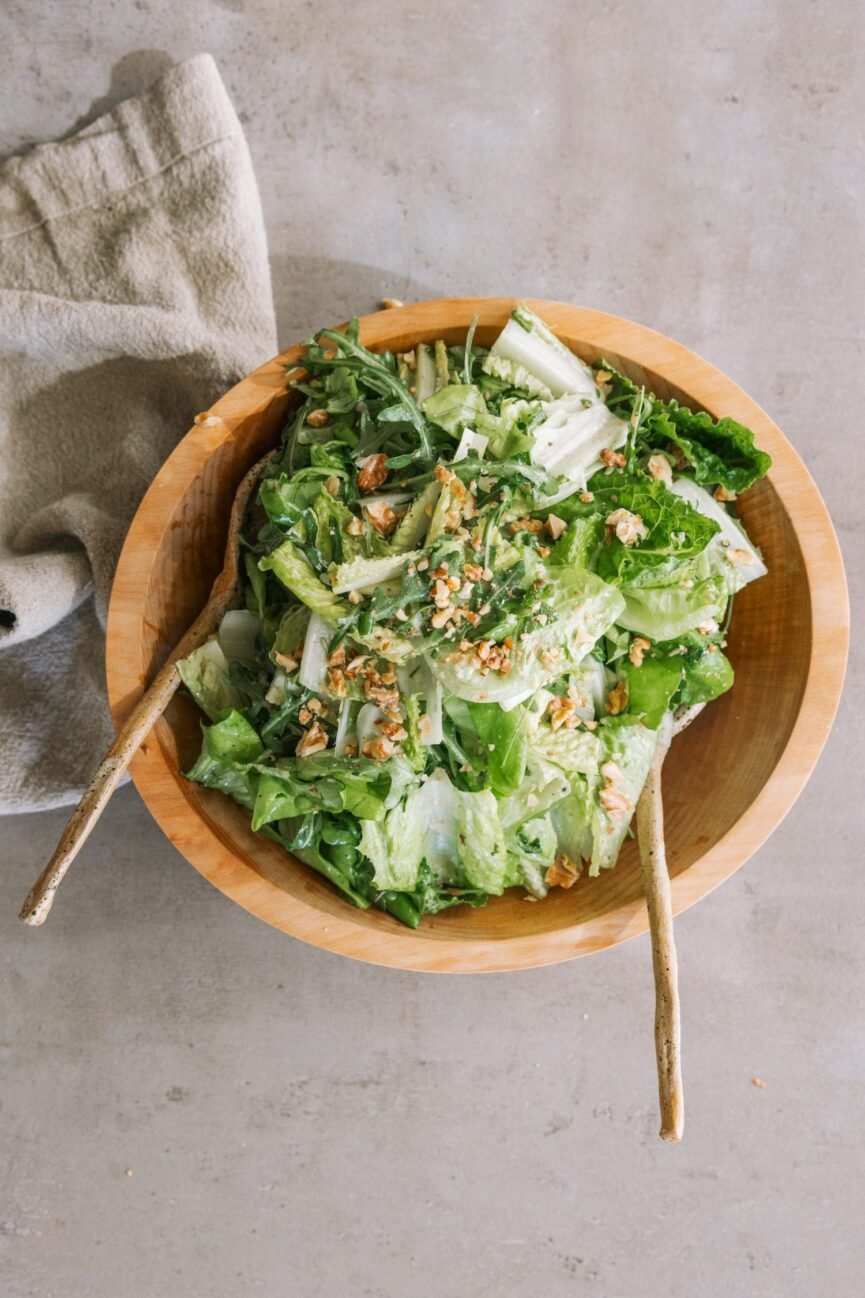
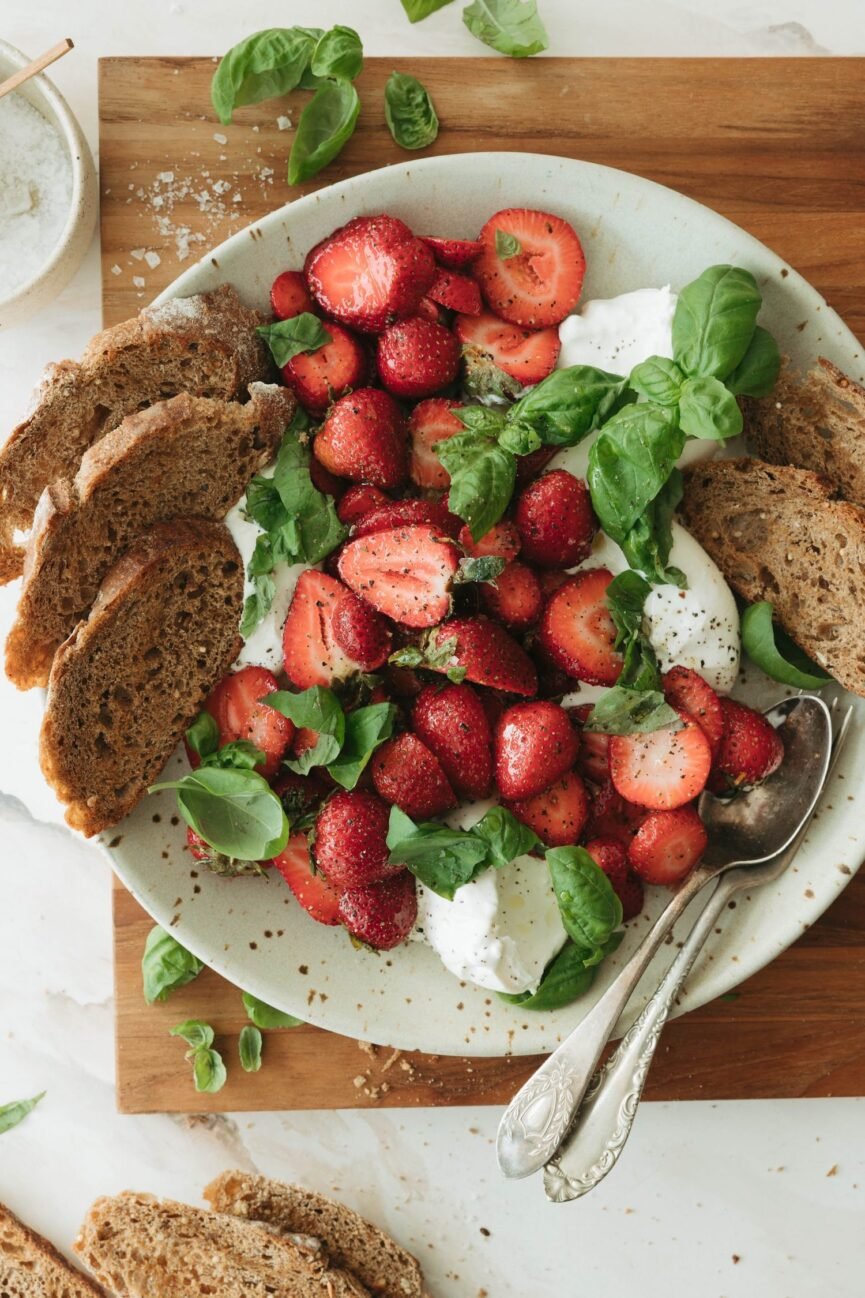
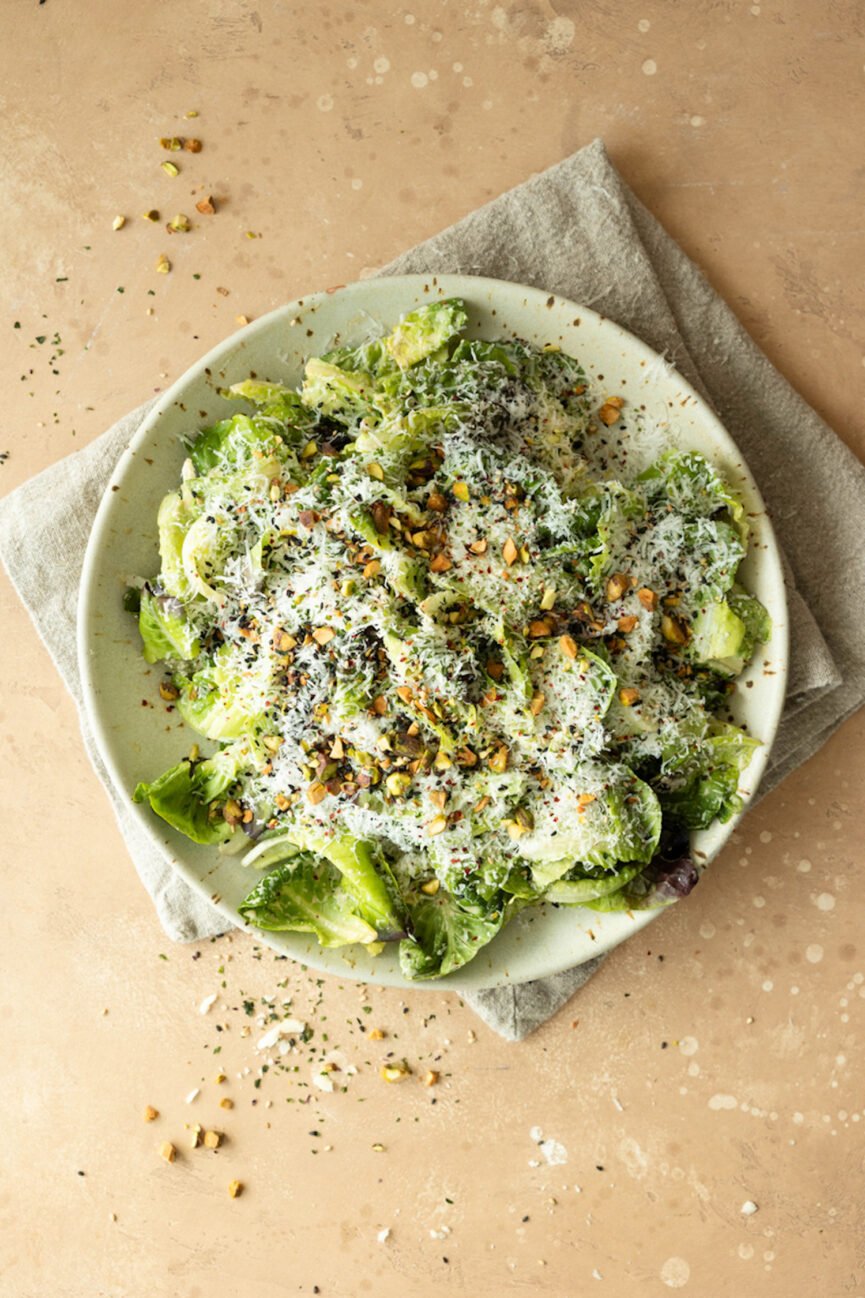
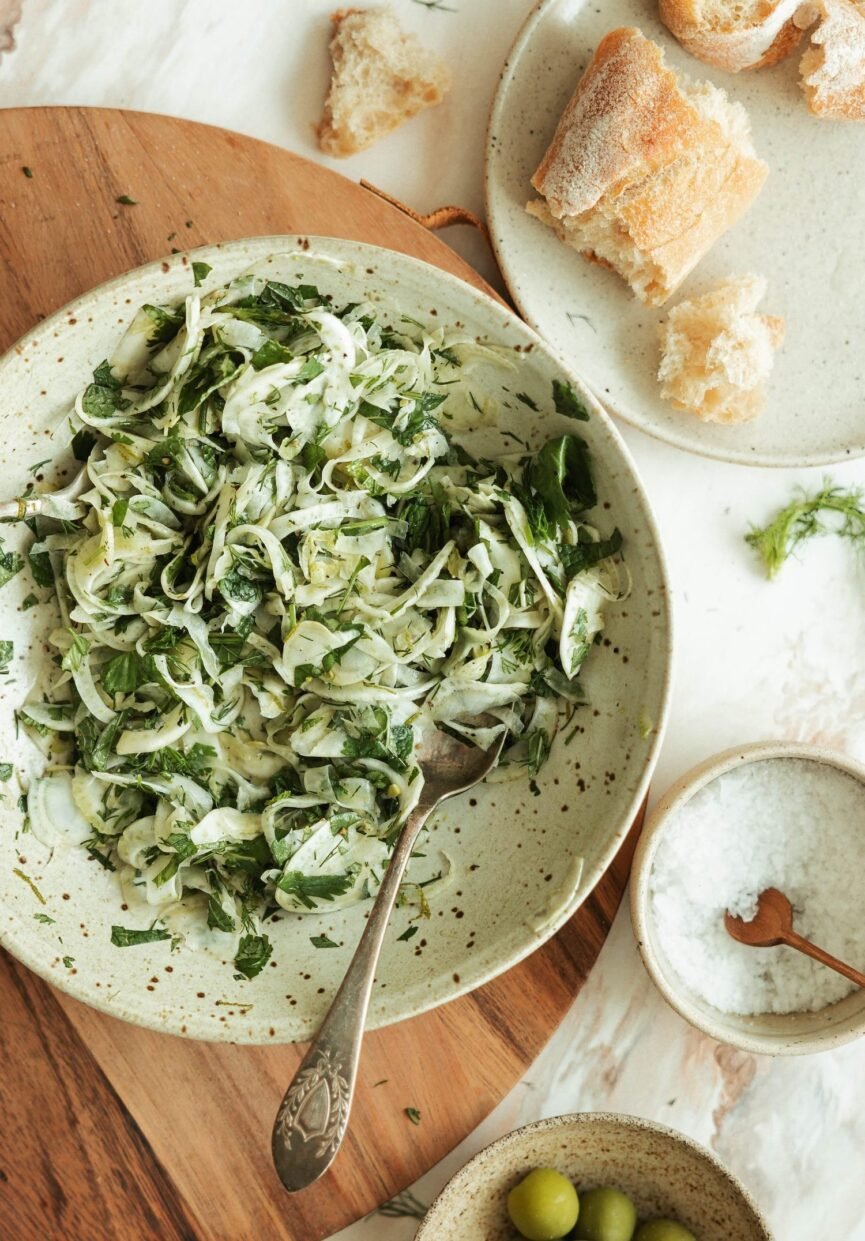
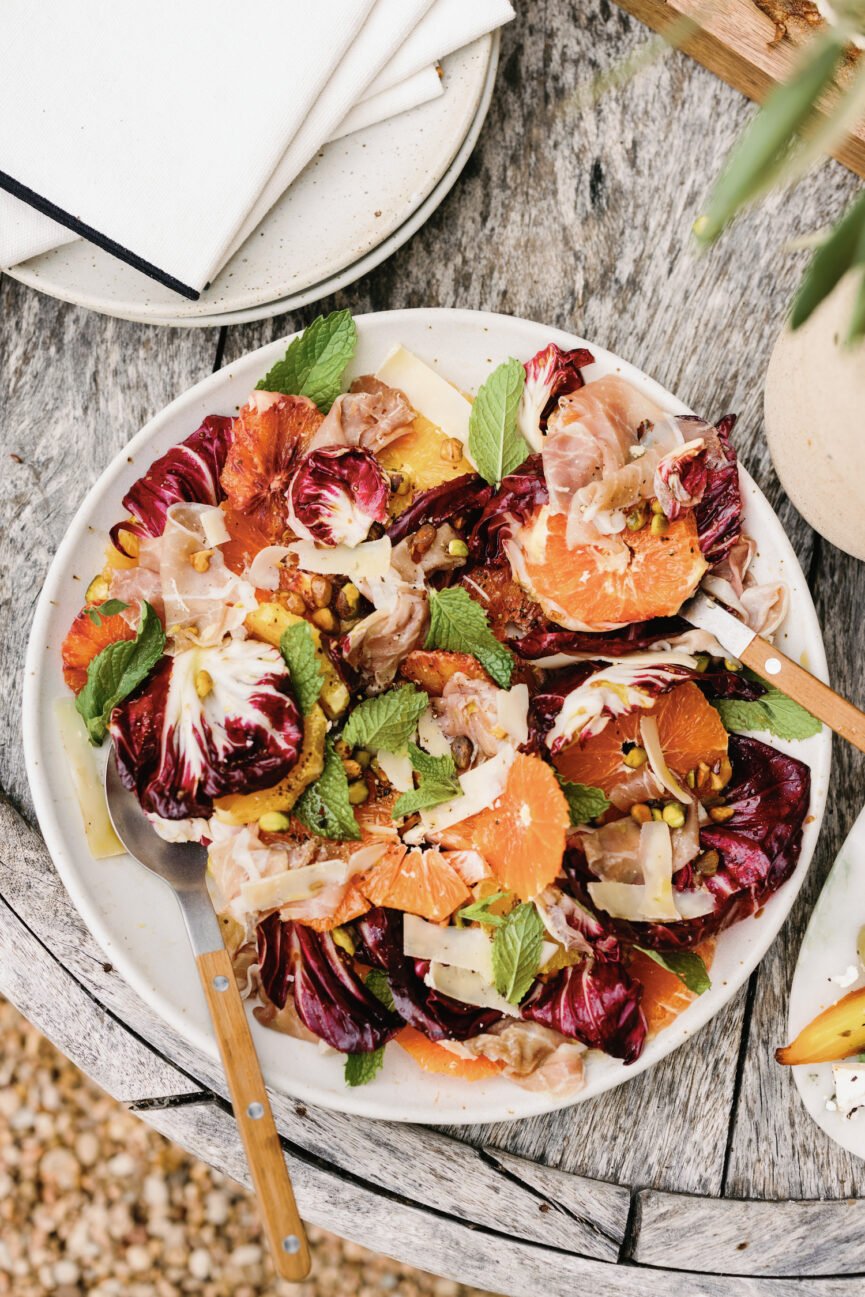
Here are some tasty sorghum recipes to try:
How to Serve Sorghum
Sorghum can be served in various ways, depending on your preference and occasion. Sorghum can be used as a substitute for rice, quinoa, couscous, or other grains, or as a base for salads, soups, stews, curries, or casseroles. Sorghum can also be used as a flour for baking, or as a syrup for sweetening.
Some of the suggestions for incorporating sorghum into different meals are:
- Breakfast: Sorghum can be served as a porridge, topped with fresh fruits, nuts, seeds, or honey. Sorghum flour can also be used to make gluten-free pancakes, waffles, muffins, or granola bars.
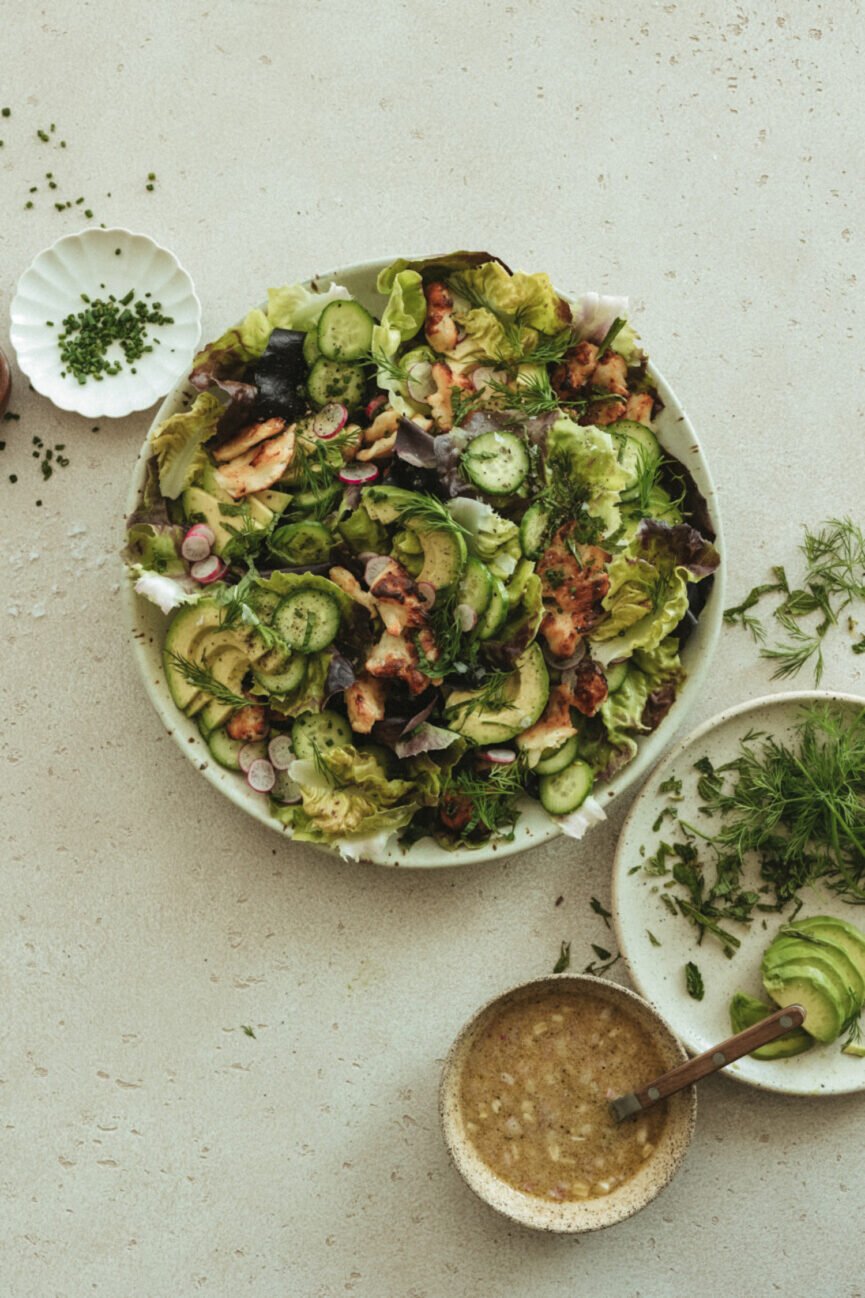
- Lunch: Sorghum can be served as a salad, mixed with chopped vegetables, cheese, nuts, or dried fruits, and dressed with lemon juice, olive oil, or vinegar. Sorghum can also be used to make burgers, tacos, wraps, or sandwiches.
- Dinner: Sorghum can be served as a pilaf, cooked with onion, garlic, herbs, and spices, and fluffed with a fork. Sorghum can also be used to make risotto, cooked with broth, butter, cheese, and mushrooms, and stirred until creamy.
- Dessert: Sorghum can be served as a pudding, cooked with milk, sugar, and vanilla, and drizzled with caramel sauce. Sorghum can also be used to make cake, cookies, brownies, or pie crust.
Pairing ideas and flavor combinations for sorghum are:
- Sorghum and Chicken: Sorghum can be paired with chicken, as it can complement the lean and tender meat with its nutty and chewy texture. Sorghum and chicken can be flavored with lemon, garlic, rosemary, or thyme, for a simple and delicious dish.
- Sorghum and Beans: Sorghum can be paired with beans, as it can provide a complete and balanced protein source with its amino acid profile. Sorghum and beans can be flavored with cumin, chili, cilantro, or lime, for a spicy and satisfying dish.
- Sorghum and Coconut: Sorghum can be paired with coconut, as it can enhance the sweet and creamy flavor of the tropical fruit with its mild and slightly sweet flavor. Sorghum and coconut can be flavored with ginger, cardamom, or cinnamon, for a fragrant and exotic dish.
Recipe FAQ’s
Here are some of the common questions and answers about cooking sorghum:
- Q: How much cooked sorghum does one cup of uncooked sorghum yield?
- A: One cup of uncooked sorghum yields about three cups of cooked sorghum, depending on the cooking method and the water ratio.
- Q: How long does it take to cook sorghum?
- A: It takes about 45 to 60 minutes to cook sorghum on the stovetop, 20 to 25 minutes to cook sorghum in a pressure cooker, and 20 minutes to cook sorghum in an Instant Pot, depending on the type of sorghum, the cooking method, and the desired texture.
- Q: How do I know when sorghum is done cooking?
- A: You can know when sorghum is done cooking by tasting a grain or squeezing it between your fingers. Sorghum is done cooking when it is tender and the liquid is absorbed. You can also check the doneness by looking at the appearance of sorghum. Sorghum is done cooking when it has a translucent center and a white ring around it.
- Q: How do I prevent sorghum from becoming sticky or mushy?
- A: Prevent sorghum from becoming sticky or mushy by following these tips:
- Rinse and soak the sorghum grains before cooking to remove any excess starch and dirt.
- Use the correct water ratio and cooking time for the type of sorghum and the cooking method.
- Add a splash of vinegar or lemon juice to the cooking water to prevent the sorghum from becoming sticky.
- Fluff the sorghum with a fork after cooking to separate the grains and release the steam.
How to Store Dry Sorghum (Uncooked)
Sorghum can be stored for a long time, as it has a low moisture content and a hard outer layer that can protect it from insects and mold. However, proper storage guidelines are still necessary to maintain the freshness and quality of sorghum.
Some of the tips for storing uncooked sorghum are:
- Store uncooked sorghum in an airtight container or a Ziplock bag, and keep it in a cool, dry, and dark place, such as a pantry, a cupboard, or a basement.
- Label the container or the bag with the date of purchase or the expiration date, and use the first-in, first-out principle to avoid wasting sorghum.
- Check the sorghum regularly for any signs of spoilage, such as changes in color, odor, or texture, or the presence of insects or mold. Discard any sorghum that looks or smells bad, or that has been infested by pests.
- Do not mix old and new sorghum, as this can affect the quality and shelf life of both batches.
Cooked Sorghum Storing Suggestions
Here are some tips for storing leftover cooked sorghum:
- Store Leftover Cooked Sorghum in an Airtight Container: A ziplock bag will work too. Keep it in the refrigerator for up to 5 days, or in the freezer for up to 3 months.
- Label the Container: Put the date of cooking or freezing, and use the first-in, first-out principle to avoid wasting sorghum.
- Don’t Reheat Leftover Sorghum More Than Once: This can affect the taste and texture of sorghum. Reheat leftover cooked sorghum in the microwave, on the stovetop, or in the oven, until it is hot and steaming.
- Don’t Thaw Frozen Sorghum at Room Temperature: This can increase the risk of bacterial growth. Thaw frozen sorghum in the refrigerator overnight, or in the microwave using the defrost setting.
Here are some of the creative ideas for repurposing leftover sorghum:
- Make sorghum fried rice, by stir-frying leftover cooked sorghum with eggs, vegetables, soy sauce, and sesame oil.
- Make sorghum fritters, by mixing leftover cooked sorghum with eggs, cheese, flour, and herbs, and frying them in oil until golden and crisp.
- Make sorghum bread, by blending leftover cooked sorghum with eggs, oil, honey, baking powder, and salt, and baking it in a loaf pan until golden and firm.
The Takeaway
Sorghum is a versatile and nutritious grain that can be used in a variety of dishes. And it can surprise you with its taste, texture, and versatility.
Whether you are looking for a gluten-free alternative to wheat, a lectin-free option for your diet, or a sustainable and eco-friendly crop, sorghum has something to offer.
In this guide, we have explored the origins, types, benefits, and uses of sorghum, as well as how to cook it to perfection.
We hope you have learned something new and useful about sorghum, and that you are inspired to try it in your own cooking.
So, what are you waiting for? Grab some sorghum and start cooking!